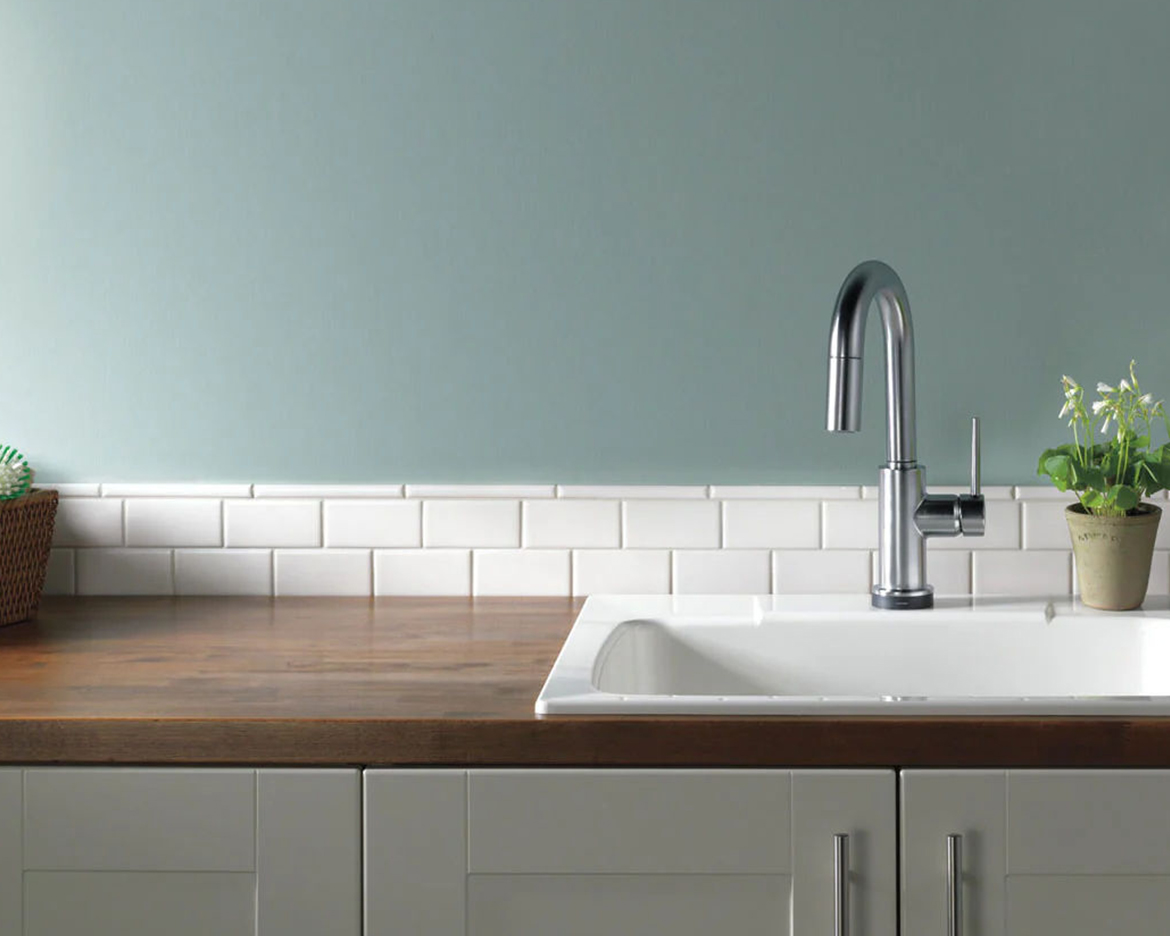
If you’ve perused our site, you know that kitchen faucets come in a variety of styles, but all of them are very simple to install on your own. Follow the six steps below to install any of our single-handle, pull-down faucets on a counter with an under-mount sink. The installation will vary slightly depending on the specifics of your sink. If, for example, you have previous holes, you’ll have to use an escutcheon to cover them.
In the box, along with your single-hand pull-down faucet, you’ll also find a hose weight, gasket, washer, and nut. You’ll need a few tools and supplies to install everything, so be sure to have the following on hand: An adjustable wrench, a 3/32” Allen wrench, and a Phillips screwdriver. Be sure to also read all of the printed instructions in the box. Following all of these steps will ensure a proper and secure installation, allowing you to enjoy your faucet for years to come!
- Shut off all water supplies and remove the old faucet. Make sure you have a clean area, clear of debris.
- Attach your faucet. If you are using an escutcheon, make sure that the gasket is properly seated under the escutcheon (if your sink has three holes, use a wide escutcheon), then place it on the sink. Install the lock nuts onto the studs and tighten them securely by hand. Insert your faucet through the escutcheon in the mounting hole, and secure the valve with the gasket, washer, and the threaded nut on the mounting shank. Then, hand-tighten the nut onto the shank. Lock the nut into position by tightening the screws with the Phillips screwdriver. Make sure the escutcheon is centered under the faucet and parallel to the wall or backsplash—adjust as necessary.
- Attach the water supplies. Attach the pull-out hose by firmly pushing it onto the faucet outlet until it clicks. Make sure all fittings and end connections are free of debris. The faucet connections are ⅜” compression fittings. Secure the metal nut on the faucet supply hoses to the supply valve connection, then hand tighten. Then, tighten one additional revolution with the wrench. Make sure not to overtighten. Repeat for the other hose connection. Make sure that the hose with the hot label is connected to the hot supply valve, and the other hose is connected to the cold supply valve. Do not use pipe dope or other sealants on any water connections.
- Flush the water lines. Turn on both the cold and hot water supplies. Remove the sprayer assembly and pull the hose assembly out of the spout, holding the end of the hose down into the sink. Turn the faucet to the full-on mixed position and flush the water lines for one minute. Then reinstall the sprayer assembly.
- Attach the hose weight. Disassemble the hose weight by loosening the two screws. Press the hose weight to the hose assembly at least 14” from the hose fitting and re-tighten the screws. Adjust the hose weight for easier hose return and make sure the copper inlet tubes do not interfere with the spray hose assembly. The hose assembly should pull freely through the spout hub. Check all connections for leaks.
- Optional: Install the soap dispenser. If you wish to install the soap dispenser (sold separately), insert the body assembly and pump through the selected hole in the sink and secure with the nut. Then, screw the bottle onto the body assembly shank. To fill, lift the head and pump assembly out of the bottle and pour no more than 8 ounces of liquid soap.


Add Comments